Looks Like Your Cart Is Empty!
Log In To Reorder


Designing your own personal labels shouldn’t be a challenge. To begin, you’ll need to use a label template.
But if you can’t find the sheet label template you’re looking for, don’t worry. You can create your own in Microsoft Word!
Users are able to make their own custom templates for sheet labels at any size.
It’s easy and we’re here to help show you how.
Follow the step-by step instructions below to get started:
1. Create a blank Microsoft Word document

2. Go to the Mailings tab, and select “Labels”

3. Select “Options”

4. Select “New Label”

5. Type in a label name

6. Make sure your page size is correct. For our labels, your page should be set for either Letter (8.5″ x 11″) or Legal (8.5″ x 14″)

7. Enter your label height

8. Enter the label width

Special Note: Microsoft Word does not recognize circles. They will show up as squares instead.
9. Enter the top margin (this is the space from the top of the label to the top of the sheet)

10. Enter the side margin (this is the space from the edge of the label to the edge of the sheet)

11. Enter the vertical pitch (this is the space from the top edge of the label to the top of the label underneath it. Basically, it’s length of the label plus the size of the vertical space between the labels)

12. Enter the horizontal pitch (this is the space from the left edge of the label to the left edge of the label next to it. Basically, it’s width of the label plus the horizontal space between the labels)

13. Enter the number across (this is how many labels are across the sheet from left to right)

14. Enter the number down (this is how many labels run vertically from the top of the sheet to the bottom of the sheet)

15. Select “OK”

16. Your new label template will appear under Product Number

17. Select “OK”
18. Select “New Document”

19. If you can’t see your labels, go to the Home Tab

20. Under the Paragraph section, click on the borders box and select “View Gridlines”
21. To make sure your margins are correct, go to the Layout tab

22. Select the “Margins” update, and select “Custom Margins”
23. Ensure the top, bottom, left, and right margins are CORRECT

24. Select “OK”
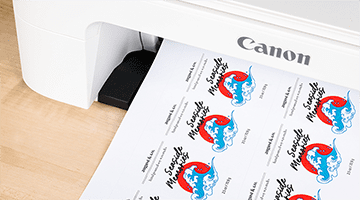
There you have it, your blank sheet label template is finished! Now add your label design to complete your sheet labels and print.

Have a label idea but in need of sheet labels to print?
Smith Corona offers a wide range of sheet labels in different sizes, materials, adhesives, finishes, and more for any labeling project.
Visit us at smithcorona.com or give us a call at 1-800-875-7000.